Cable swap - Standard boards only. (24 volt boards)
when ordering a new cable specify which board you have. The GI and AT boards have different cable set-ups
tools needed:
4mm Allen head bit (5/32)
3mm Allen head bit (1/8)
8mm wrench/socket (5/16)
Phillips Screwdriver
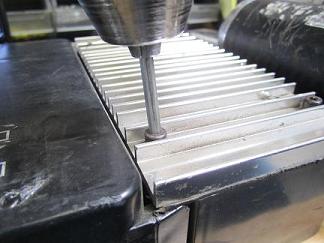
1. Remove the 4 allen head bolts from the electronic box using the 4mm allen head,
lift electronics to view connectors.
2. Unplug cable from electronics and follow cable out of the electronics box.

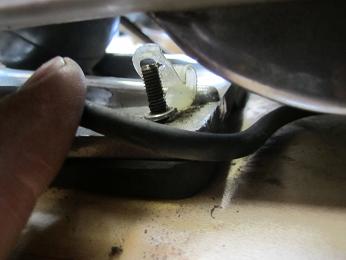
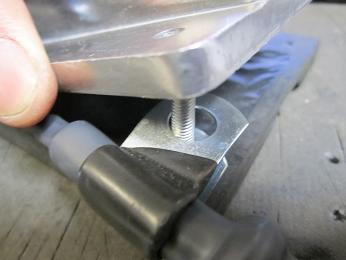
3. Remove the nut (8mm wrench & 3mm allen head) on rear base plate where the cable is attached and
remove part of the cable clamp so that you can slide the cable out.

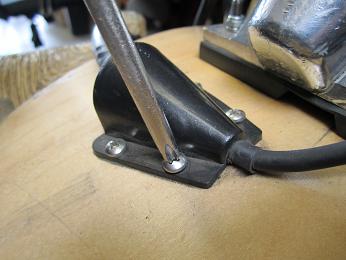
4. Remove the 4 screws holding the cable on to the deck using a phillips screwdriver.
5. Once you have removed the old cable then follow steps above to put the new cable on.
Tip: Make sure you bench test your board before putting it back together to make sure it works.
Cable swap for the AT & GT board
Tools needed:
Phillips screwdriver
8mm wrench/socket (5/16)
3mm Allen head (1/8)
2. Remove your motor to create space for you to work. Remove the nut and place your motor to the side of the board. Do not un-plug the wires from the electronics.

2. Remove the 4 screws from the PC board cover plate using the phillips screwdriver,
remove cover to view connectors.

3. Unplug cable from electronics and follow cable out of the electronics box.

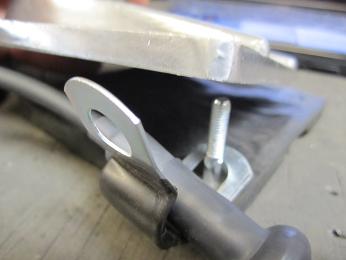
3. Remove the nut (8mm wrench & 3mm allen head) on rear base plate where the cable is attached and
remove the cable clamp.
4. Once you have removed the old cable then follow steps above to put the new cable on.
Tip: Make sure you bench test your board before putting it back together to make sure it works.
